Setup a Spring Boot Project
First, let's set up your first process application project in the IDE of your choice, the following description uses Eclipse.
Requirements
The project requires Java 17/21.
Set Up a Java Project
We will start by setting up a Spring Boot application as an Apache Maven Project inside Eclipse. This consists of three steps:
- Create a new Maven Project in Eclipse
- Add the Operaton & Spring Boot dependencies
- Add a main class as an entry point for launching the Spring Boot application.
In the following sections, we go through this process step by step.
Create a new Maven Project
First, we set up a new Apache Maven based project. Let's call it loan-approval-spring-boot. The screenshot below illustrates the settings we choose in IntelliJ IDEA.
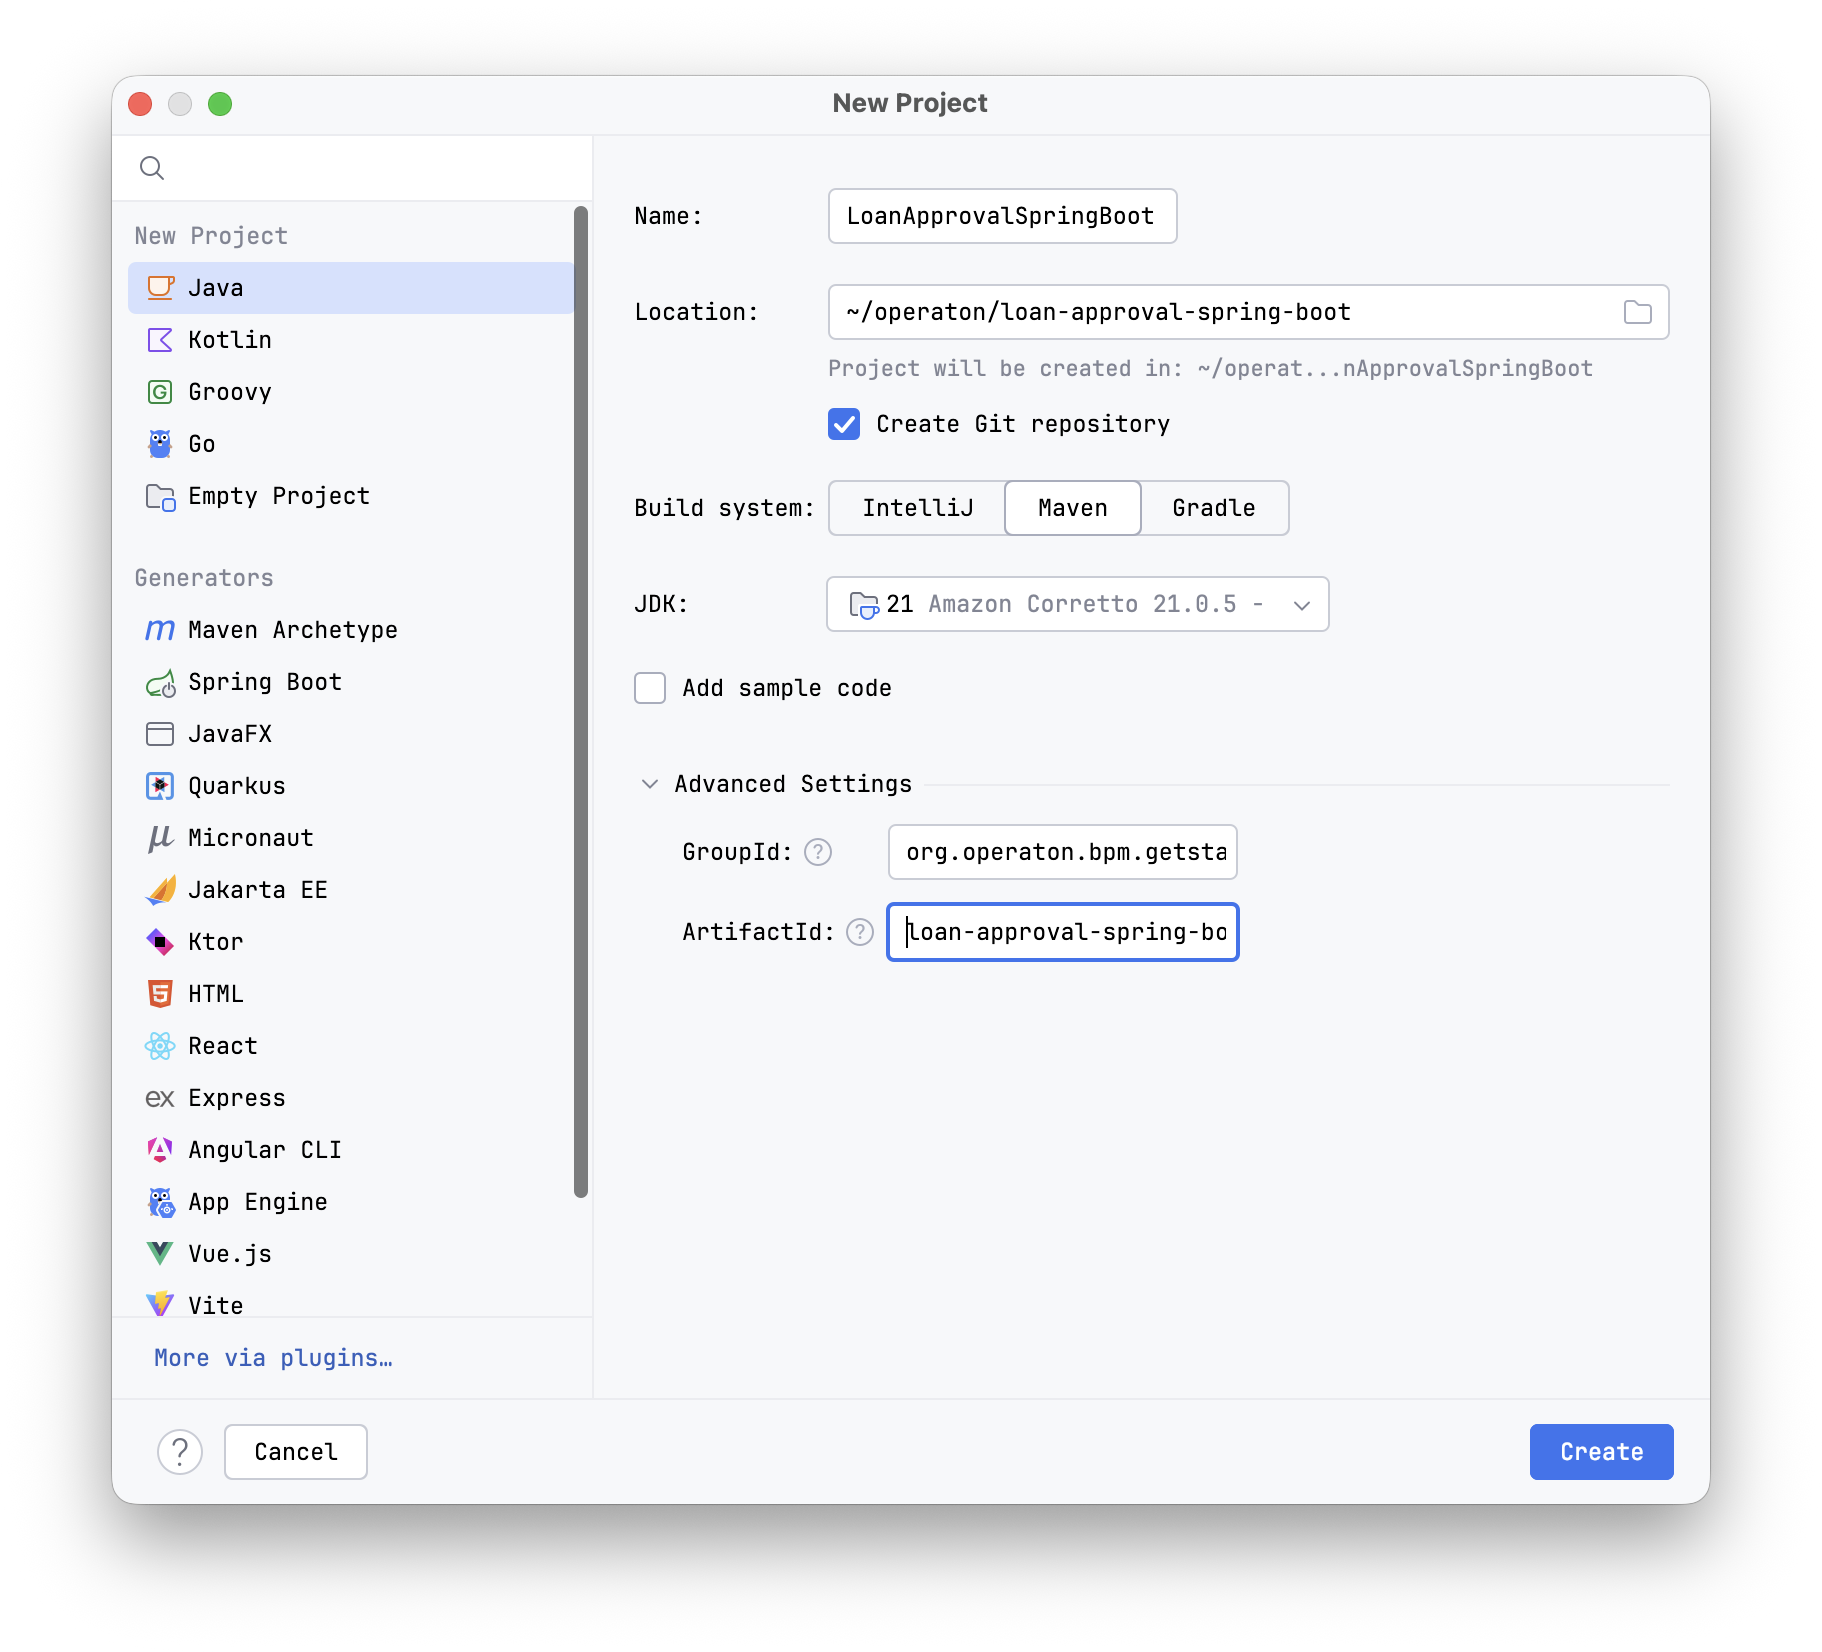
- Name:
LoanApprovalSpringBoot - Build system: Maven
- JDK: Select a JDK version 17 or newer
- Advanced settings:
- GroupId:
org.operaton.bpm.getstarted - ArtifactId:
loan-approval-spring-boot
- GroupId:
When you are done, click Create. IntelliJ IDEA sets up a new Maven project.
Add Operaton Platform & Spring Boot Dependencies
The next step consists of setting up the Maven dependencies for the new project. Maven dependencies need to be added to the pom.xml file of the project.
We add the Spring Boot & the Operaton BOM in the "dependency management" section and the Operaton Spring Boot Starter for Webapps, which will automatically include the Operaton engine and webapps in the app.
We also use spring-boot-maven-plugin, which does all the magic for packaging Spring Boot application content together.
<project xmlns="http://maven.apache.org/POM/4.0.0" xmlns:xsi="http://www.w3.org/2001/XMLSchema-instance" xsi:schemaLocation="http://maven.apache.org/POM/4.0.0 http://maven.apache.org/xsd/maven-4.0.0.xsd">
  <modelVersion>4.0.0</modelVersion>
  <groupId>org.operaton.bpm.getstarted</groupId>
  <artifactId>loan-approval-spring-boot</artifactId>
  <version>0.1-SNAPSHOT</version>

  <properties>
    <project.build.sourceEncoding>UTF-8</project.build.sourceEncoding>
    <java.version>17</java.version>
    <maven.compiler.release>17</maven.compiler.release>
    <spring-boot.version>4.0.6</spring-boot.version>
    <operaton.version>2.1.0</operaton.version>
  </properties>

  <dependencyManagement>
    <dependencies>
      <dependency>
        <groupId>org.springframework.boot</groupId>
        <artifactId>spring-boot-dependencies</artifactId>
        <version>${spring-boot.version}</version>
        <type>pom</type>
        <scope>import</scope>
      </dependency>
      <dependency>
        <groupId>org.operaton.bpm</groupId>
        <artifactId>operaton-bom</artifactId>
        <version>${operaton.version}</version>
        <type>pom</type>
        <scope>import</scope>
      </dependency>
    </dependencies>
  </dependencyManagement>

  <dependencies>
    <dependency>
      <groupId>org.operaton.bpm.springboot</groupId>
      <artifactId>operaton-bpm-spring-boot-starter-webapp</artifactId>
    </dependency>
    <dependency>
      <groupId>org.springframework.boot</groupId>
      <artifactId>spring-boot-starter-web</artifactId>
    </dependency>
    <dependency>
      <groupId>com.h2database</groupId>
      <artifactId>h2</artifactId>
      <scope>runtime</scope>
    </dependency>
    <dependency>
      <groupId>org.springframework.boot</groupId>
      <artifactId>spring-boot-starter-test</artifactId>
      <scope>test</scope>
    </dependency>
    <dependency>
      <groupId>org.operaton.bpm</groupId>
      <artifactId>operaton-bpm-junit5</artifactId>
      <scope>test</scope>
    </dependency>
  </dependencies>

  <build>
    <plugins>
      <plugin>
        <groupId>org.springframework.boot</groupId>
        <artifactId>spring-boot-maven-plugin</artifactId>
        <version>${spring-boot.version}</version>
        <configuration>
          <layout>ZIP</layout>
        </configuration>
        <executions>
          <execution>
            <goals>
              <goal>repackage</goal>
            </goals>
          </execution>
        </executions>
      </plugin>
    </plugins>
  </build>

</project>
Add Main Class to our Spring Boot Application
Next, we add an application class with a main method that will be the entry point for launching the Spring Boot application. The class has the annotation @SpringBootApplication on it,
which implicitly adds several convenient features (autoconfiguration, component scan, etc. - see Spring Boot docs).
The class is added in the src/main/java folder in the org.operaton.bpm.getstarted.loanapproval package.
package org.operaton.bpm.getstarted.loanapproval;

import org.springframework.boot.SpringApplication;
import org.springframework.boot.autoconfigure.SpringBootApplication;

@SpringBootApplication
public class WebappExampleProcessApplication {
	public static void main(String... args) {
		SpringApplication.run(WebappExampleProcessApplication.class, args);
	}
}
Build and Run
Now you can perform the first build. Select the Maven view, open the Lifecycle and double-click on verify.
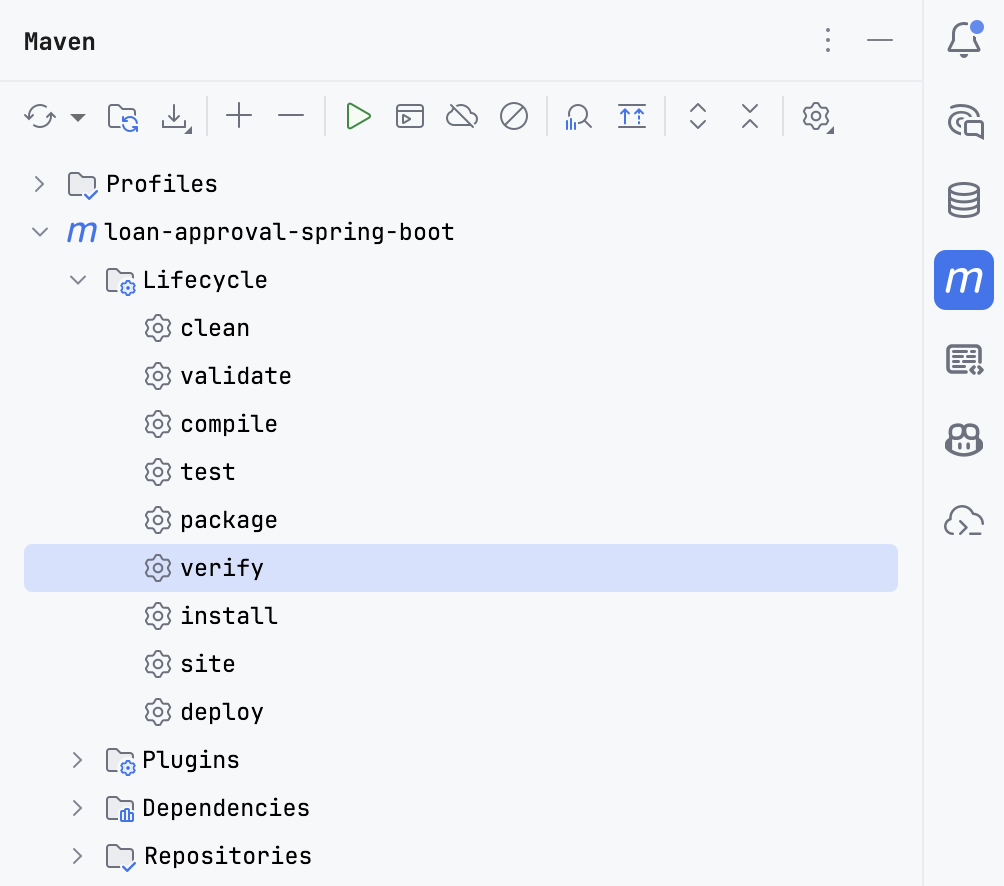
Our first Operaton Spring Boot application is ready now. As a result of the build, you will have a JAR-file in your target folder. This JAR is a Spring Boot application,
which embeds inside Tomcat as a web container, Operaton engine and Operaton Web applications resources.
When started, it will use an in-memory H2 database for Operaton Engine needs.
You can run the application opening the WebappExampleProcessApplication class and click on the triangle icon in the ruler left of the class name.
Wait until you see a similar line in the console:
Started WebappExampleProcessApplication in 2.67 seconds (process running for 3.044)
Then go to http://localhost:8080/ in your browser and enjoy the Operaton webapps.
Another way to run the app is to simply run the JAR-file with a java -jar command.
If your port 8080 is already occupied, you can change the default port by adding an application.yml file and add:
server.port: 8081